Mosaic and Reticulated Cane: First Few Attempts
From Furnace to Flame: A Journey In Glass
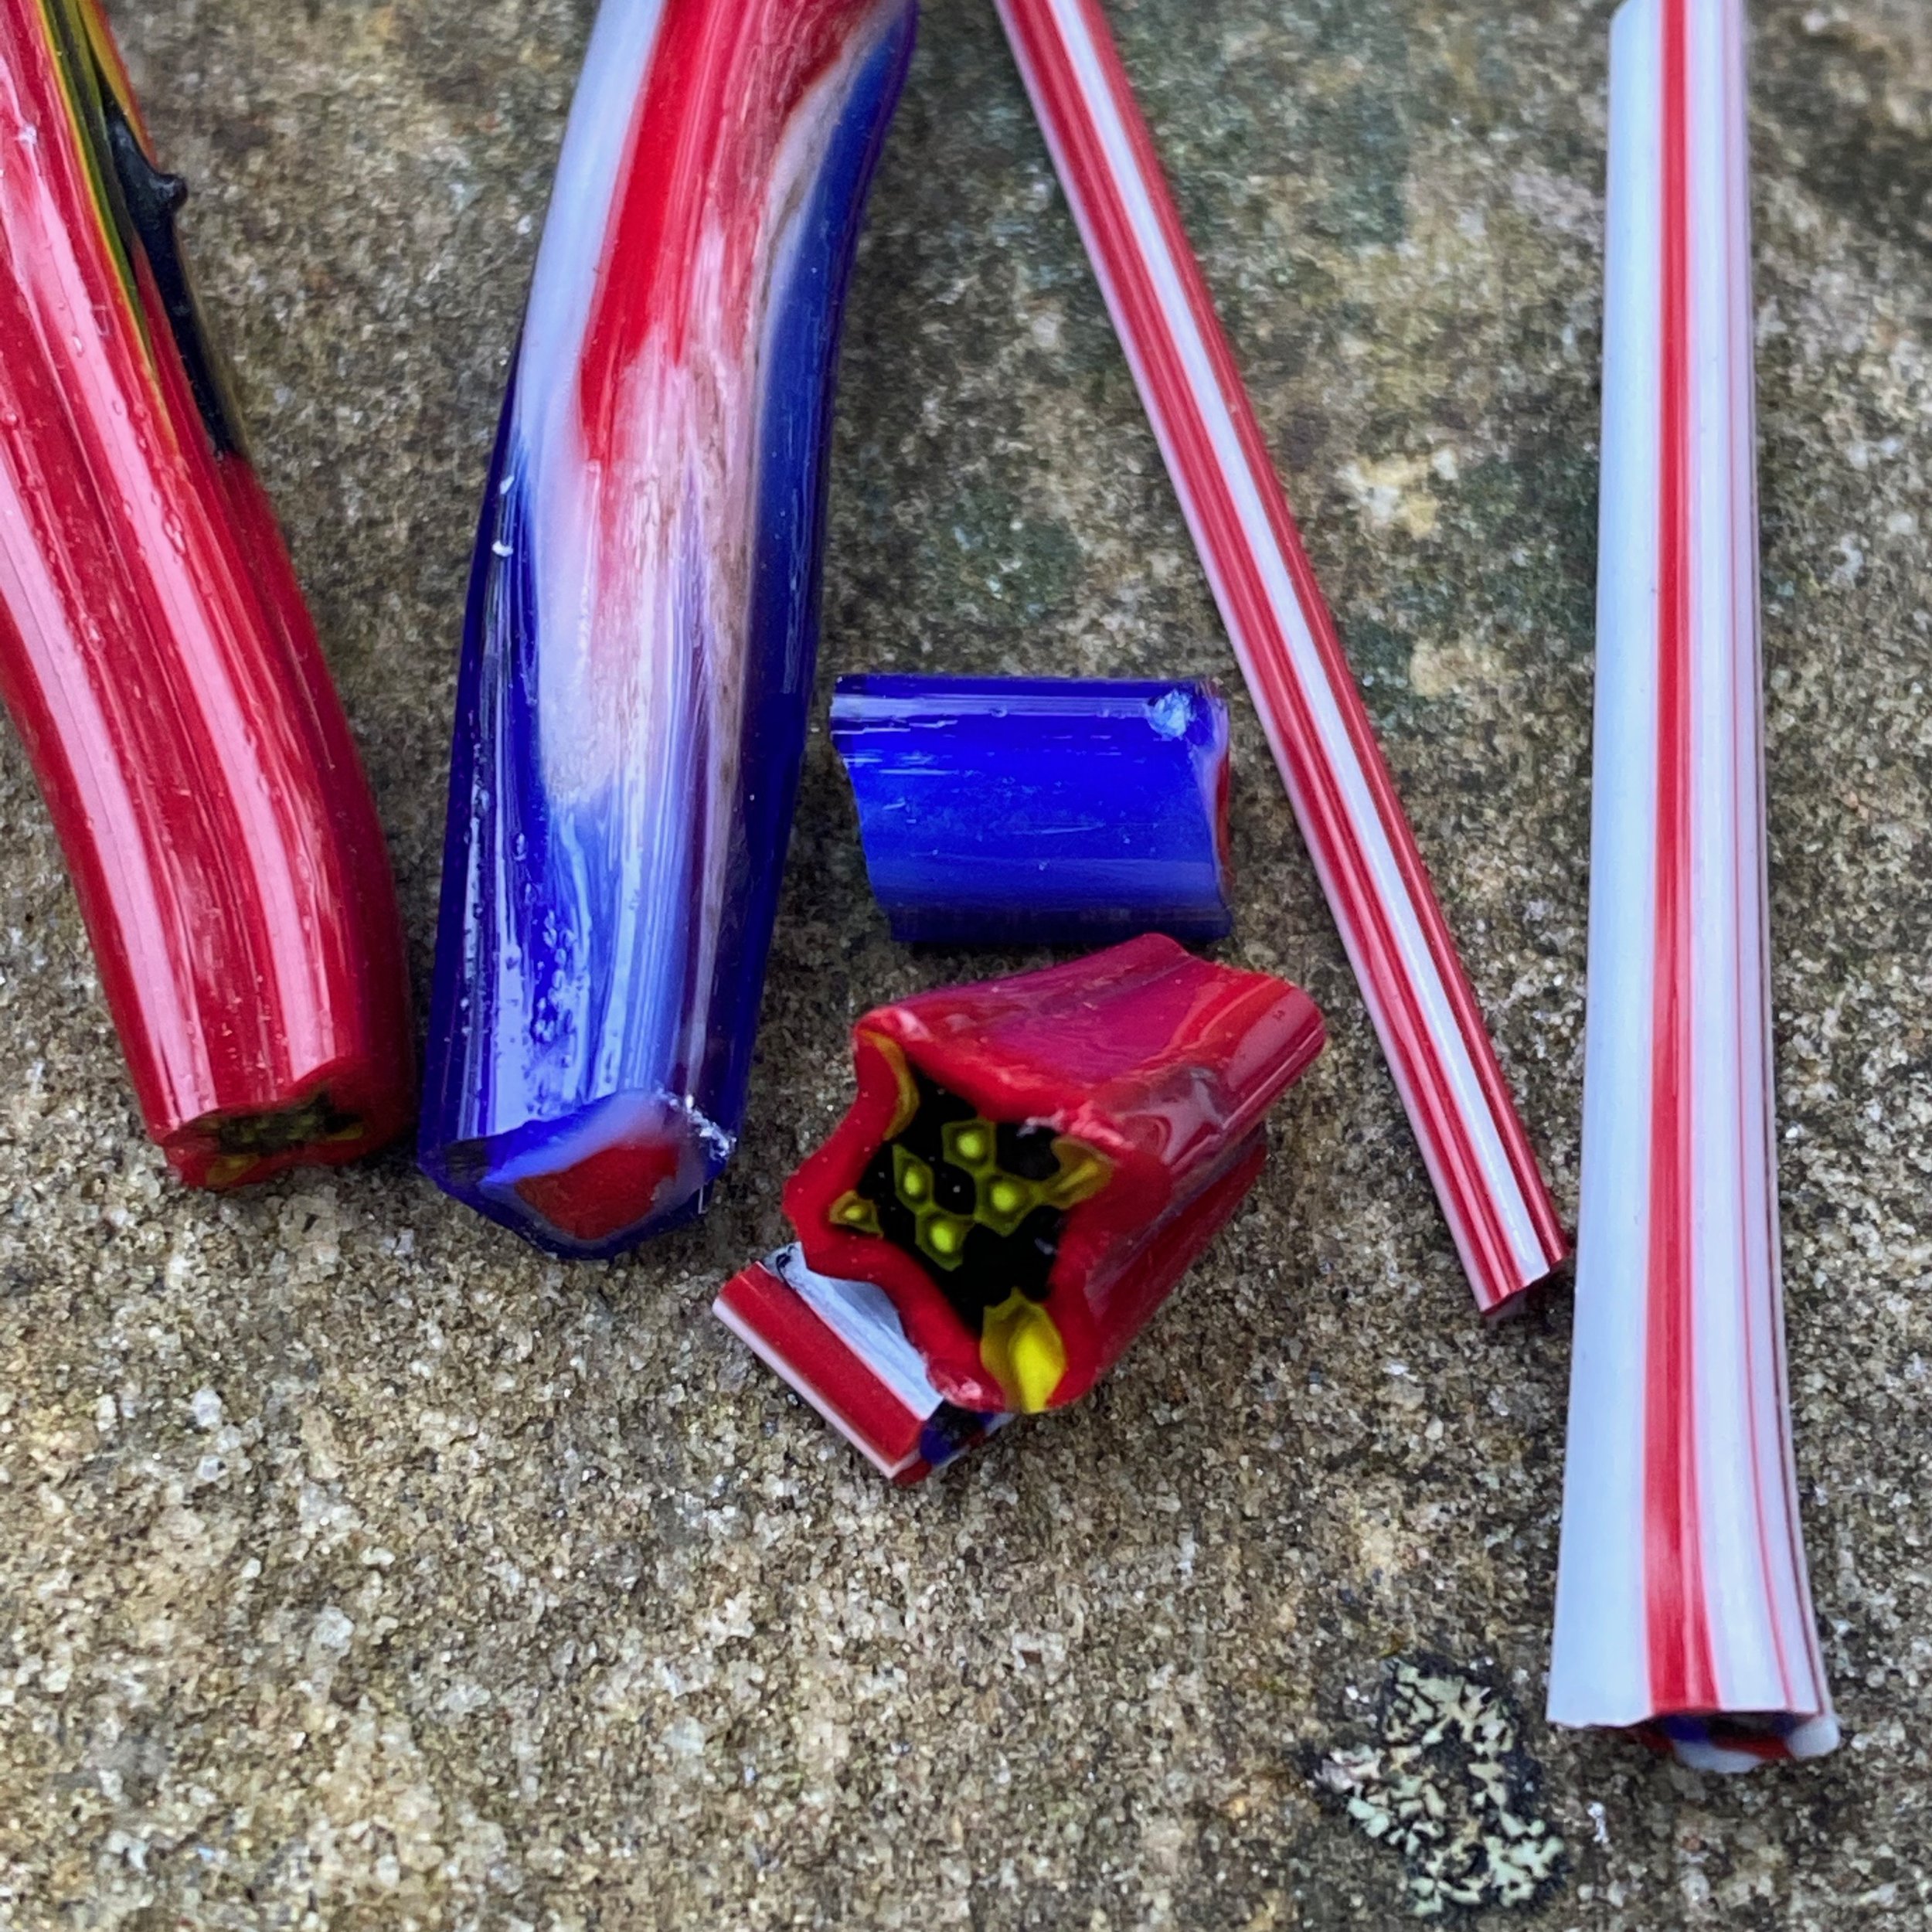
Mosaic chips made from mosaic cane.
First, I needed to figure out how to consistently get the stinger and cane pulls consistent enough to work with. When it comes to pulling mosaic cane, which is the cane that has an image buried in it, the three main mosaics I work with are checker board, eye, and rising sun. The first method I used was to build out the gather on a rod of glass. This works well for the eyes and rising sun patterns but the checker board ultimately required a different approach for consistent success.


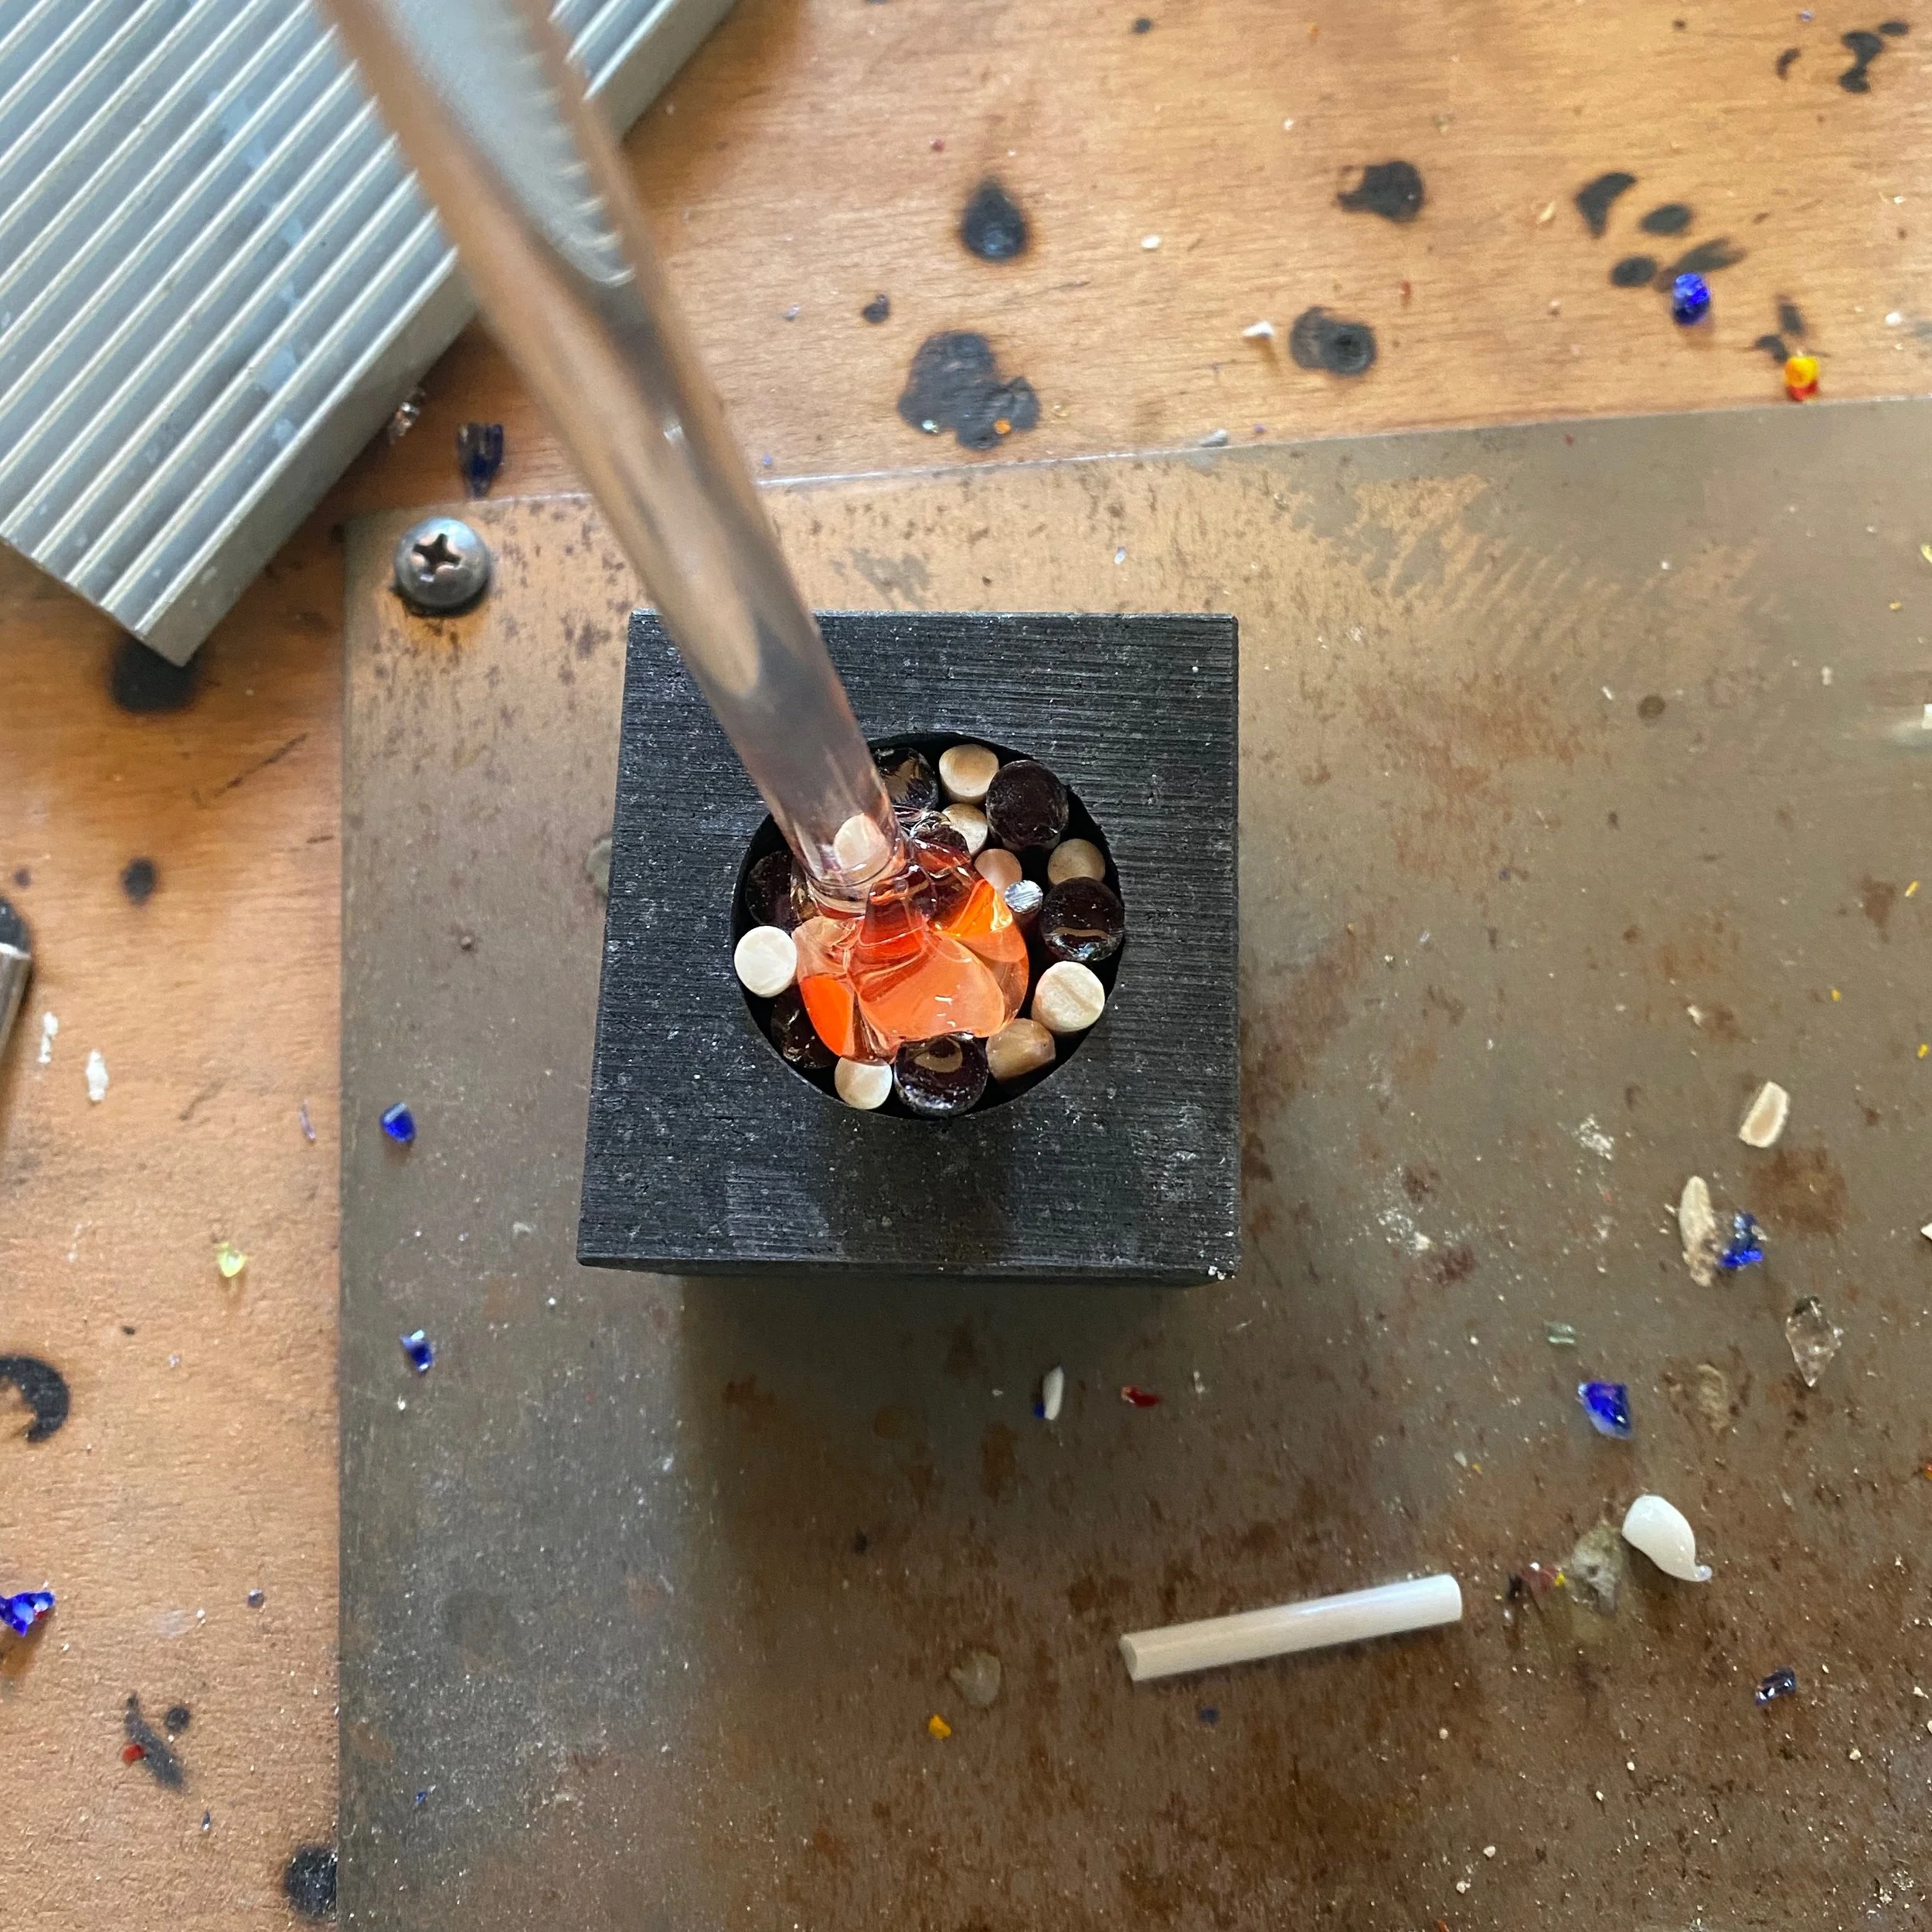
I used a murrini mold to pre-heat the glass in a pre-organized pattern before picking it up with a glass punty and melting together.

The mold I use is made of graphite. The glass is organized in the desired pattern before warming it up in the kiln. Then, the mold is pulled and while the glass is still warm, it is picked up with a gather and then melted together on the torch. I ended up setting up a two torch system to generate enough heat to get a good melt. A second punty is attached and then the cane is pulled.


This method is my preferred method for making the checkered mosaic cane.

One night while working in the shop, we had this little visitor.
The mosaic chips have to be pre-heated before being attached to the bead and melted in. I pre-heat them by sitting them on top of my glass warmer. The mosaic chips can be combined with reticulated cane to build these more complex beads.


Another method I used was to cast murrini bars in a ceramic mold and then pull the bars into a cane. I used this method to make some of the eye beads in my silk road project. I have made cross, eye, and checker patterns this way.


The dual torch setup uses a hot head to provide a broader flame profile in combination with the hotter dual fuel torch.
